Skill Level
Intermediate
Time to Make
1 hour plus drying time.
Adult Supervision Needed
Yes
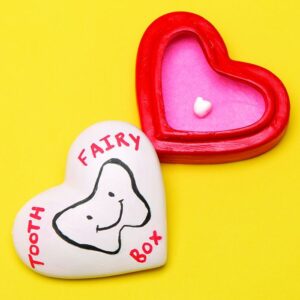
How to Make
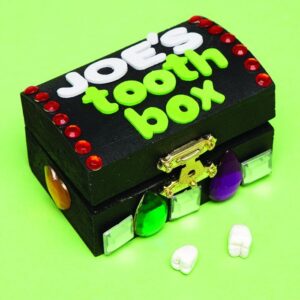
- Paint the craft box with blue paint and leave to dry. Add a second coat of paint for a brighter colour. Leave to dry.
- Once the paint has dried, take a pencil and lightly sketch out your tooth fairy design on the top of the box. Using white, pink and yellow paint colour in the wings, tooth, crown and wand. Leave to dry.
- When dry, outline your design with a black deco pen and add the child’s name at the top of the box.
- Decorate the sides of the lid with self-adhesive gemstones.
- For the inside of the box, take a sheet of foam and roll it up. Measure it against the side of the box and cut to size so it fits in the craft box. Repeat this process, then place both foam rolls into the box to form a tooth and coin cushion.


Top Tip
To help perfect your tooth fairy design, draw on tracing paper first and then transfer the design onto the craft box.
Tagged with:
Tooth Fairy