Skill Level
Beginner
Time to Make
20 minutes
Adult Supervision Needed
Yes
How to Make
- Download and print off the template provided then cut out the envelope template in your chosen card colour.
- Bend the edges of the envelope into the centre, then with a thin strip of double sided tape stick the bottom three flaps down.
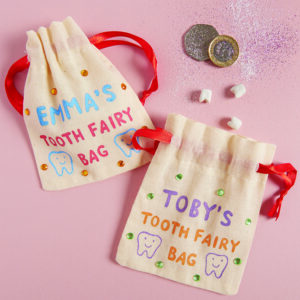
- From white card, cut out a small rectangle then stick this to the front of the envelope. With a thin black pen write ‘Tooth Fairy’ or your name to personalise.
- Cut out a small square from white card then stick this to the right hand corner of the envelope.
- Cut out a small square from pink card, slightly smaller than the first, then stick this on top of the white square.
- Cut out a small tooth shape from white card then stick this on top of the pink square to create the tooth stamp.
- To finish, cut out a small rectangle approx 5cm x 6cm from white card then slot this inside the envelope for the card.


Top Tip
These tiny envelopes would look great in any colour and could be made in bigger or smaller sizes too.
Template
DownloadTagged with:
Tooth Fairy