Skill Level
Beginner
Time to Make
30 minutes + drying time
Adult Supervision Needed
Yes
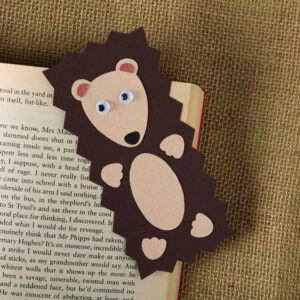
How to Make
- Take a paper plate and turn it upside down so the blank side is facing upwards. Then cover it in a coat of brown paint. Leave to dry and then paint again if needed.
- Once dry, fold the plate in half with the painted side on the outside. Then use scissors to cut triangular spikes around the curved edge.
- Take a sheet of beige paper and use a pencil to draw an oval shape with a point at the bottom. Then draw two ears at the top. Then cut out this shape.
- Cut two small inner ear shapes from a sheet of pink paper and then stick them to the ears using double sided tape.
- Use a black pen to draw the nose at the bottom of the head shape. Then stick two wiggle eyes to complete the hedgehog’s face.
- Cut out two feet shapes from the same sheet of beige paper, leaving a bit of paper at the top to attach them to the plate. Add double sided tape to the top of these shapes and the stick them to the back of the paper plate at the bottom.
- Stick the hedgehog’s face to the front of the paper plate, making sure the nose overlaps the bottom of the plate.


Top Tip
Try making a matching baby hedgehog using the smaller paper plates.