Skill Level
Beginner
Time to Make
1 hour + baking time for Fimo + paint drying
Adult Supervision Needed
Yes
How to Make
- To model the Fimo Vegetables
- 2. Place the models on a baking tray or glazed tile. Bake at 110ºC, following instructions on the packet. Allow Fimo to cool before handling.
- 3. To make the cart, paint a lid or base section of a craft box and leave to dry. Paint 2 x matching plastic bottle caps covering both sides and the inside then leave to dry.
- 4. Paint 2 wooden craft sticks and leave to dry. Glue the wooden craft sticks onto the sides of the box, so they overhang at one end by about 4cm for the cart handles. To make legs for the cart, cut off the ends from a craft stick to make 2 x 4cm pieces then glue onto the end of the box.
- 5. Use a small strip of card dipped into paint to print the spokes on the wheels. Glue a small card circle in the middle of the wheel, then print a circle using the end of a straw or add details to the wheel using a thin marker pen. Glue the wheels onto the sides of the cart and leave to dry.
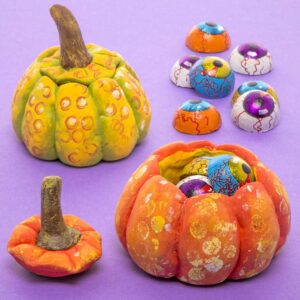
- Pumpkin – Shape 3 orange or yellow Fimo strips into a ball. Use a flat modelling tool to score lines down the side, taking care not to squash the shape. Push the end of a tool or small paintbrush into the top of the pumpkin to make a hole. Shape a small Fimo piece for the stalk then press it inside the hole.
- Lettuce or cabbage – To make the leaves, flatten 6 or 7 pea-sized green Fimo balls into circles. Curl one of the circles to form the middle then add the rest of the leaves around it, one at a time. Gently press the edges of the outer leaves to give them a crinkly edge. If the base of the lettuce looks too bulky, trim the end with a flat modelling tool.
- Carrots – Cut 1 orange Fimo strip into 5 pieces. Shape each piece into a ball then gently roll each piece with your fingers to make carrot shapes. Carefully press the carrots together into a bunch. For the leaves, cut some thin strips from flattened green Fimo, then press onto the top of the bunch of carrots. Use a cocktail stick to help position and separate the ends of the leaves.
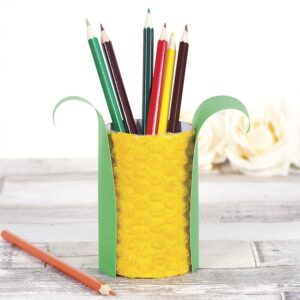
- Corn on the cob – To make corn cobs, cut 1 yellow Fimo strip into 3 pieces then shape into 3 long ovals. Press the flat end a modelling tool or the side cocktail stick into the Fimo to make a texture. For the leaves, flatten a 1cm green Fimo ball into a circle, approximately 2.5cm in diameter. Cut the circle in half to make 2 semi-circles then wrap them around the yellow corn with the flat edges along the length of the cob. Make more leaves in the same way adding 3 or 4 leaves onto each cob then curl the leaves at the top.
- Tomatoes – Shape small red Fimo balls then press 3 or 4 tiny green flattened triangle on the top for leaves. Push a cocktail stick or pointed tool into the middle of the leaves and curl up the ends.
- Potatoes – To blend a light brown colour, knead a strip of white Fimo with a small pinch of brown and yellow until the colours are evenly mixed. Shape the Fimo into small round ovals.
6. Cut a small hessian rectangle to fit inside the cart then place the Fimo vegetables inside.


Top Tip
For a shallow cart use the lid of a box or for a deeper cart use the bottom section.


