Skill Level
Beginner. Adult supervision needed
Time to Make
30 minutes
Adult Supervision Needed
Yes
How to Make
- Take a sheet of darker pink self-adhesive foam and wrap it around the tin can (without taking off the backing). Use a pencil to mark where the top of the can in, then unwrap the foam and trim the edge off.
- Peel off the backing of the foam and wrap it around the tin can.
- On the remaining strip of foam, use a pencil to draw two bunny ears, two 1cm circles and six 0.5cm circles. Then cut these shapes out.
- Take a sheet of lighter pink self-adhesive foam and cut out two oval feet shapes and a small triangle for the nose. Stick a 1cm circle to the bottom section of the foot shape and three smaller circles to the top.
- Place the two bunny ears onto the back of the lighter pink foam and draw around them with a pencil. Then cut out two shapes slightly smaller than these. Peel off the backing and stick to the ears to make the inner ears.
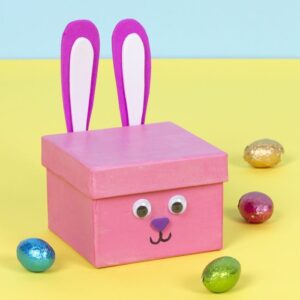
- Cut out a semi circle from the light pink foam and stick it to the bottom section of the tin can to make the tummy. Then stick the two feet either side of the tummy and use a black pen to draw the bunny’s mouth just above.
- Stick the nose just above the bunny’s mouth, then stick two wiggle eyes above the nose.
- Use double sided tape to stick the two bunny ears to the back of the tin can at the top.


Top Tip
You can make a matching chick pen pot by using yellow and orange foam instead of pink.


